Introduction
MDF (Medium-Density Fibreboard) is one of the most widely used sheet materials in woodworking — smooth, stable, and easy to paint. But it chips, dulls blades fast, and releases fine dust that clogs lungs and sandpaper alike. Cutting MDF cleanly is not a matter of luck. It depends on three things: the right blade, the right setup, and a consistent cutting technique. This guide covers all three, whether you’re using a circular saw, a jigsaw, or a router. The goal: zero chip-out, clean edges, and cuts that match your dimensions exactly.
What Makes MDF Difficult to Cut?
MDF is not solid wood. It is made from wood fibres bonded under pressure with urea-formaldehyde resin. This gives it a uniform density throughout — no grain direction, no knots — but it also means the surface is brittle under lateral cutting forces.
Three properties make MDF demanding to cut cleanly:
Understanding these three factors shapes every decision in the steps below.
Choosing the Right Blade for MDF
The blade is the single most important variable. No technique compensates for a wrong or worn blade.
Circular Saw
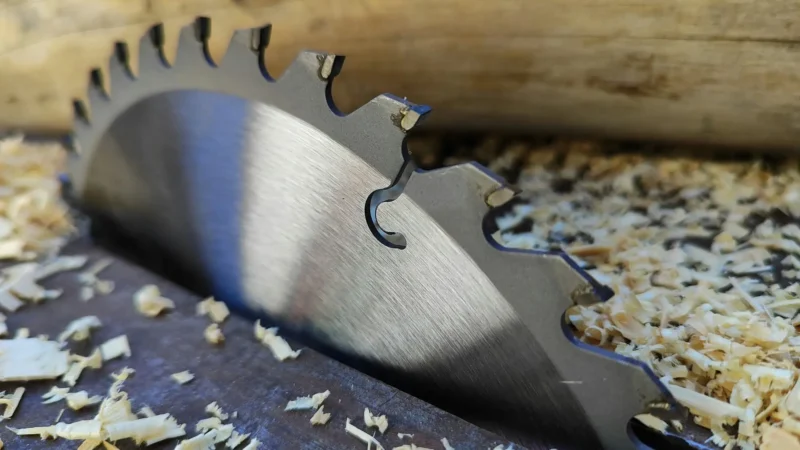
Use a carbide-tipped (TCT) blade with 60 to 80 teeth. More teeth mean smaller chip load per tooth, which translates directly to a cleaner edge. A 60-tooth 190mm blade works well for 18mm MDF. A 40-tooth blade will cut, but the edge will be rough and prone to chip-out.
Blade geometry also matters. Look for an ATB (Alternate Top Bevel) grind — the angled tooth profile scores the fibre on entry, reducing tear-out. Avoid ripping blades designed for solid timber (typically 24 teeth with a flat top grind).
Jigsaw
A fine-tooth blade rated 10–12 TPI (teeth per inch) is the minimum for MDF. Bosch T101B or equivalent downstroke blades are popular choices — the downward cutting direction reduces chip-out on the visible face. Run the jigsaw at high speed, low orbital setting.
Router
A router with a straight two-flute carbide bit gives the cleanest possible edge on MDF — cleaner than any saw. It is the preferred tool for curved cuts or when dimensional accuracy is critical (cabinet door frames, shelving). Always use a template or fence. Make multiple passes: rough cut within 2–3mm, then trim to the line.
| Tool | Recommended Blade/Bit | Teeth/Flutes | Best For |
|---|---|---|---|
| Circular saw | TCT ATB | 60–80 teeth | Straight cuts, sheet breakdown |
| Jigsaw | Fine bi-metal or TCT | 10–12 TPI | Curves, cutouts |
| Router | Straight carbide bit | 2 flutes | Precision edges, templates |
| Table saw | TCT ATB | 60–80 teeth | Ripping strips, repeated cuts |
Step-by-Step: Cutting MDF Without Chipping
Follow these steps in order. Skipping the scoring step causes the majority of chip-out complaints.
Step 1 — Mark your cut line precisely.
Use a sharp pencil and a steel rule. MDF absorbs pencil marks well. Add a second line 0.5mm outside the first to account for blade kerf if you are cutting to finished dimension.
Step 2 — Score the cut line.
Run a sharp utility knife along your line, pressing firmly — two passes minimum. This severs the surface fibres before the blade reaches them. It is the most effective single action against chip-out, and it takes under 30 seconds.
Step 3 — Apply masking tape over the line (optional but effective).
On the exit face of the blade — the face down for a circular saw — apply a strip of low-tack masking tape before scoring. This provides additional fibre support. Remove tape carefully after cutting.
Step 4 — Set blade depth correctly.
For a circular saw, the blade should protrude no more than 5–8mm below the panel. Excessive depth increases the exit angle and worsens chip-out. For 18mm MDF: set the blade to 23–26mm total depth.
Step 5 — Support the panel fully.
MDF is heavy — an 18mm 2440×1220mm sheet weighs approximately 29 kg. Unsupported panels flex during cutting, causing the cut to bind and the blade to deflect. Use a sacrificial foam board, trestles with full support on both sides of the cut line, or cut on the floor with rigid foam underneath.
Step 6 — Cut at a consistent feed rate.
Start the saw before contacting the material. Move at a steady pace — roughly 30–40 cm per second for an 18mm panel with a 60-tooth blade. Pausing mid-cut causes heat buildup and burning. Rushing causes chip-out and blade deflection.
Step 7 — Finish and inspect the edge.
A clean MDF edge needs only light sanding with 120-grit before priming. If you see tear-out, the cause is almost always scoring skipped (Step 2) or wrong blade (see table above).
Dust, Safety, and Workshop Setup
MDF dust is not ordinary sawdust. Urea-formaldehyde is a Group 1 carcinogen (IARC classification). Prolonged exposure without protection causes serious respiratory damage.
Practical minimum requirements:
Work outdoors or in a well-ventilated space whenever possible. If you are cutting large volumes of MDF in an enclosed workshop, consider an air filtration unit running throughout the session.
Common Mistakes and How to Fix Them
Chip-out on the face side: You skipped scoring, or the blade is too coarse. Score before every cut, switch to 60+ tooth blade.
Burning along the cut edge: Feed rate too slow, or blade is dull. Increase feed speed, replace or sharpen blade.
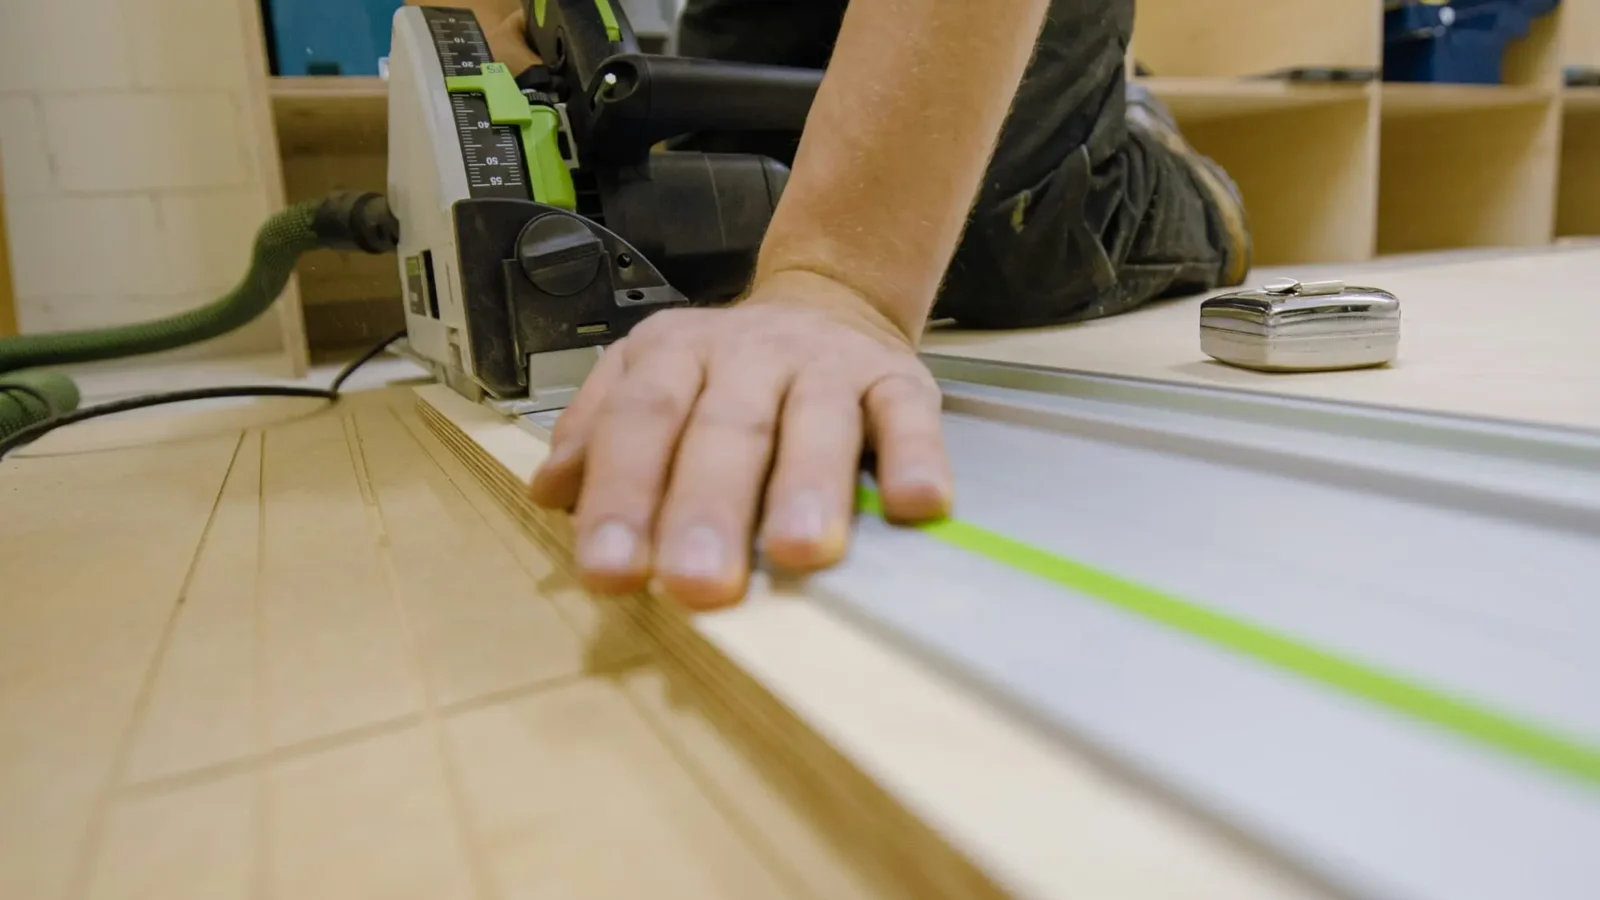
Cut line drifts off the mark: Fence or guide is loose, or the panel is flexing. Clamp a straight edge as a guide rail, support the panel fully.
Edges crumbling during sanding: The panel got wet before cutting, or the blade tore fibres deeply. Seal with a thin coat of PVA diluted 1:1, let dry, then sand.
Panel too heavy to handle alone: Breakdown large sheets first on the floor using a foam board underneath, then move to the workbench for precision cuts.
Plan Your Cuts Before You Start
The most costly mistake in any MDF project is not a chipped edge — it is cutting in the wrong order and running out of panel.
Before any cut, map out every piece you need: dimensions, quantity, and grain direction if you are using veneered MDF. A cutting plan (also called a cut list or panel layout) shows you exactly how to arrange all pieces on your sheet to minimise waste.
You can generate this layout automatically with Offcut, a free online panel cut optimizer. Input your panel size, list your pieces, and the tool outputs an optimised cutting layout with kerf width factored in. It also calculates offcuts — useful MDF remnants you can save for smaller pieces rather than discard.
If you want to check the total weight of your MDF panels before transport or installation, use the wood panel weight calculator — helpful when planning delivery or checking structural loads.
Conclusion
Cutting MDF cleanly comes down to four non-negotiables: a carbide-tipped blade with 60+ teeth, a scored cut line, full panel support, and dust extraction. The technique itself is straightforward once the setup is right. Most chip-out and burning problems trace back to skipped preparation steps, not lack of skill.
Before you cut a single panel, take ten minutes to plan your layout. A well-organised cut list prevents waste, saves material costs, and reduces the number of cuts you need to make. Use Offcut’s free panel cut optimizer to generate your cutting plan — it handles the maths so you can focus on the cutting.