Introduction
A standard 244×122 cm MDF sheet weighs between 30 and 40 kg. Moving it alone, laying it flat without it snapping, then cutting it accurately — all of this is genuinely difficult without the right setup. Yet most DIY guides assume you have a second pair of hands.
This article gives you a practical, step-by-step method to cut large panels solo: how to transport them without injury, how to build a stable cutting support in minutes, and how to stay safe throughout the process. These techniques are used by professional joiners and experienced DIYers alike. No expensive equipment required.
Step 1 — Know Your Panel Weight Before You Start
Before moving a single panel, know what you’re dealing with. The weight varies significantly depending on the material.
MDF is the heaviest common sheet material, with a density of 700–800 kg/m³. A standard 244×122 cm sheet at 18 mm thickness weighs approximately 38–44 kg. Plywood is lighter at 500–650 kg/m³, and OSB falls in between. Even a “light” 12 mm MDF sheet at full size tips the scale at around 26 kg.
Use the Offcut wood panel weight calculator to get the exact figure for your material, thickness, and dimensions before you start. Knowing the weight in advance lets you plan your handling strategy — and decide whether you need a trolley, a second person for the carry, or a different approach entirely.
Key numbers to remember:
Step 2 — Transport and Position the Panel Safely Alone
Carrying a 40 kg sheet flat is not realistic for most people. The correct method is to carry it vertically, on its long edge — like a large book stood upright.
Keep the panel close to your body, tilted slightly toward you. Use one hand on the top edge and the other underneath, near the centre. Walk with your feet wide apart and take small steps. If the panel is particularly heavy or awkward, a panel carrier hook (a simple rubber-coated tool that hooks under the sheet) lets you grip it from below with one hand — available at any hardware store for under €10.
To lay the panel flat from vertical, rest one end on the floor first, then lower it gradually using your knee as a pivot point. Never drop it flat — the impact can crack MDF, and your toes will not thank you.
Once on the floor, avoid sliding it on bare concrete. Concrete scratches and, more importantly, the friction can tip a leaning panel unexpectedly.
Step 3 — Build a Zero-Cost Cutting Support With Foam
This is the technique that changes everything for solo cutting. It requires one item: a sheet of rigid extruded polystyrene insulation foam, 50–100 mm thick. This is the pink or blue foam used in home insulation, available at builders’ merchants for a few euros.
Lay the foam sheet flat on the floor. Place your panel on top of it. The foam supports the full area of the panel, keeping it perfectly flat. When you cut through the panel, the blade enters the foam slightly — and the foam holds both pieces in place after the cut, preventing the offcut from dropping and binding the blade. No clamps needed. No risk of the panel flexing mid-cut.
This method works equally well with a circular saw or a jigsaw. Set your blade depth to just 5–10 mm more than the panel thickness. The foam is sacrificial — you will cut into it slightly, which is the point. One foam sheet lasts for dozens of cuts before it needs replacing.
Why this beats a standard workbench: Most workbenches are 60×120 cm at most. A 244×122 cm panel overhangs massively, flexes at the cut line, and risks pinching the blade. The foam-on-floor method supports the full sheet with zero overhang.
Step 4 — Circular Saw Setup for a Clean Solo Cut
A straight, safe cut alone depends as much on your guide system as on your technique.
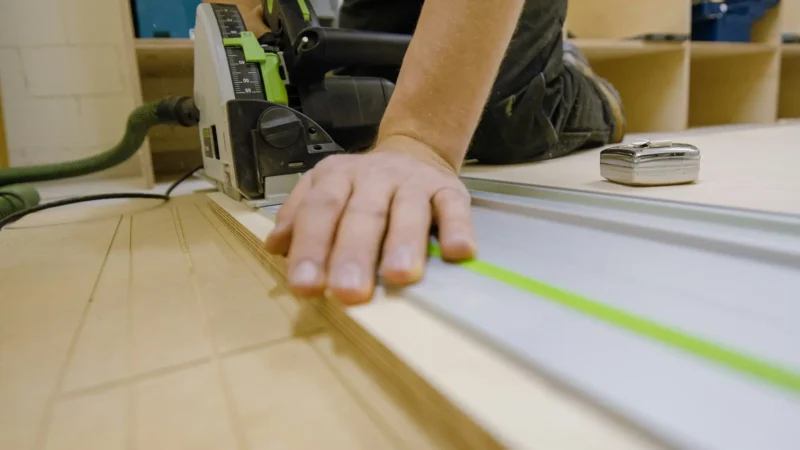
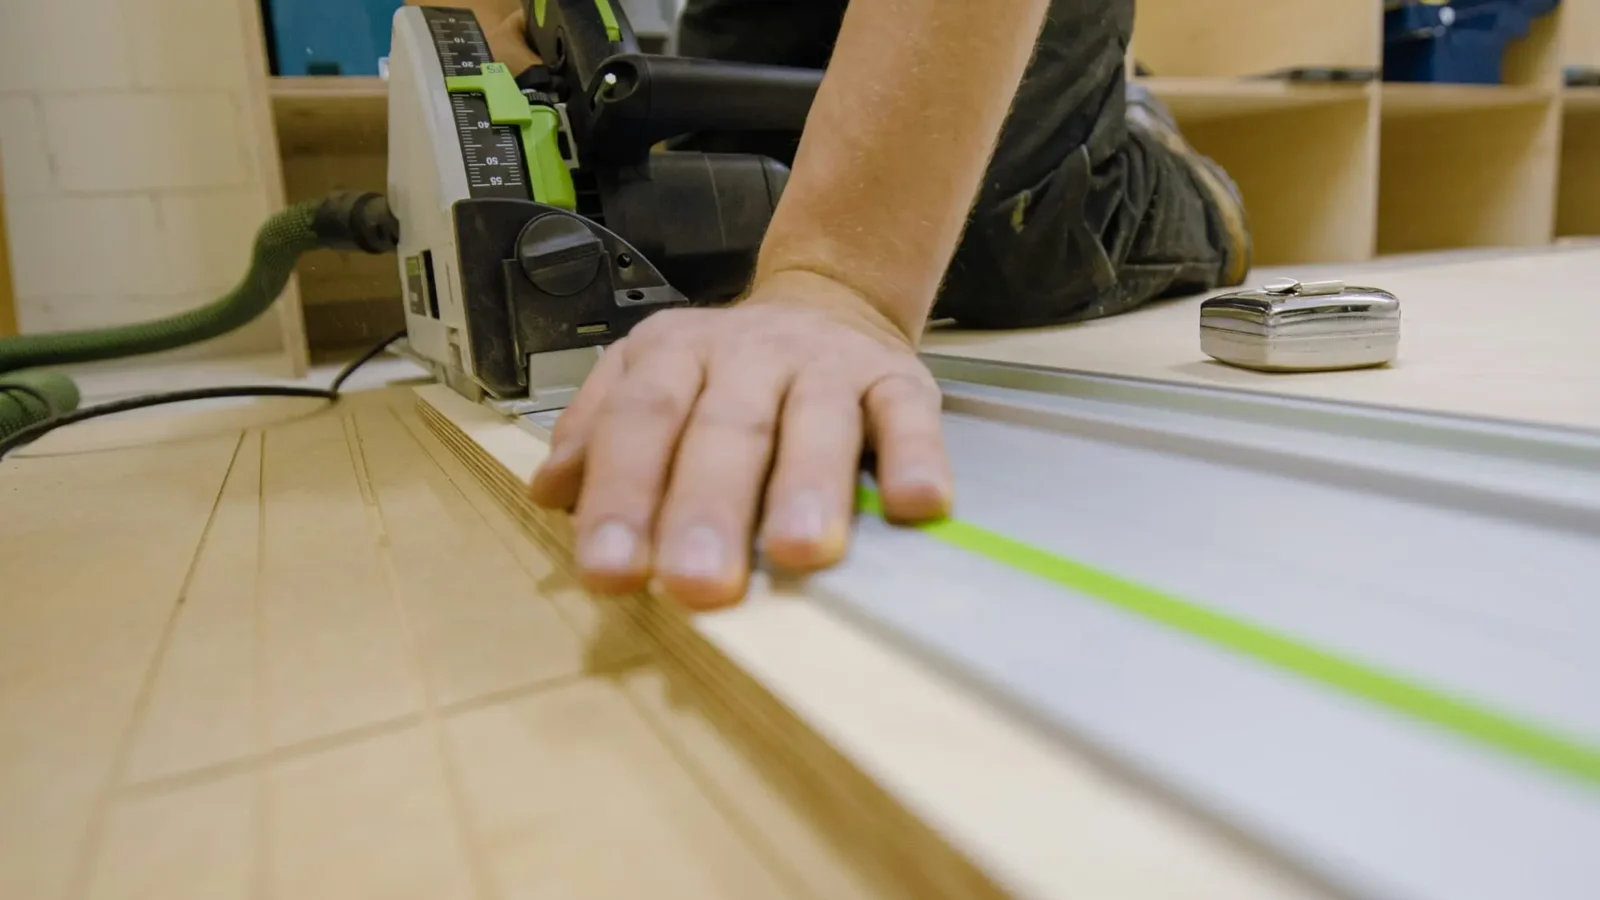
A straightedge guide — a long aluminum profile or even a factory-edged piece of MDF clamped along the cut line — is essential. Clamp it at both ends before you start. Check that the clamps sit outside the cut path so the saw base plate can slide freely.
Set blade depth correctly: blade teeth should extend 5–10 mm below the panel surface. Too deep wastes energy and increases kickback risk. Too shallow leaves the blade body rubbing against the cut edge.
For the cut itself, start the saw before the blade touches the panel. Feed steadily without forcing. If the blade slows or the saw vibrates, stop and check your guide alignment. Never pull a running saw backward along the cut.
Use hearing protection and safety glasses without exception. MDF dust in particular contains fine particles and adhesive resins — a dust mask rated at least FFP2 is strongly recommended.
Step 5 — Plan Your Cuts Before You Start
Handling a 40 kg sheet multiple times is exhausting and increases the risk of error. The professional approach is to plan all your cuts in advance, break the full sheet into manageable pieces in the first pass, then refine from there.
This is exactly what a panel cut optimizer is designed for. Enter your panel dimensions, list the pieces you need, and the software calculates the most efficient cut sequence — minimising waste and the number of cuts you need to make. Offcut’s free online cut optimizer does this in seconds, and generates a clear cutting plan you can follow step by step in the workshop.
A well-planned cut sequence means you handle the full sheet only once. After the first rip cut, you’re working with lighter, more manageable pieces. This reduces fatigue and the risk of a handling accident.
When to Skip Solo Cutting Entirely
Sometimes the smartest move is to have the panels cut at the store. Most large timber merchants and home improvement stores offer panel cutting services — typically one or two free cuts per sheet, then a small charge per additional cut.
Store cutting makes sense when: you need more than 4–5 pieces from a single sheet, you don’t have a circular saw or suitable workspace, you need cuts accurate to within 1 mm (store panel saws are extremely precise), or you’re working with materials above 25 mm thickness.
The limitation is that store cuts are straight cuts only — no curves, no angles. And you still need to plan your cut list in advance to hand to the operator. Again, running your cut list through Offcut before you go ensures you arrive with an optimised layout and waste as little material as possible.
Conclusion
Cutting a large panel alone is entirely manageable with the right preparation. Know the weight of your material before you start. Carry the panel vertically, lower it carefully, and build your cutting support with a sheet of insulation foam on the floor. Use a straightedge guide, set the correct blade depth, and protect yourself with glasses, ear defenders, and a dust mask.
Above all, plan your cuts before you pick up the saw. A clear cut plan reduces the number of times you handle the full sheet, saves material, and makes the whole job faster and safer. Use the Offcut panel cut optimizer to generate your cutting layout in minutes — whether you’re cutting at home or preparing a cut list for the store.