Introduction
A poorly configured cut plan can silently waste an entire panel before you’ve even picked up a saw. Most woodworkers focus on fitting parts together — but three technical settings make the real difference: saw kerf width, grain direction, and offcut recovery. Get these wrong, and you lose material, money, and time. Get them right, and your yield improves by 10–20% on a typical project. This guide walks through each setting with concrete numbers, practical examples, and the right tool to apply them — whether you’re building a kitchen cabinet, a bookcase, or a full furniture run.
1. Saw Kerf: The Setting Most Woodworkers Skip
Saw kerf is the width of material removed by each blade pass. A standard circular saw blade removes 3.0–3.2mm. A table saw blade: 3.0–3.5mm. A panel saw with a scoring blade: 4.0–4.5mm. A fine-tooth hand saw: 1.5–2.0mm.
Why does this matter? On a 2440×1220mm sheet with 10 horizontal cuts, a 3mm kerf removes 30mm of usable length — nearly enough to lose an entire shelf piece in a tight layout.
| Tool | Typical Kerf Width |
|---|---|
| Hand saw (fine-tooth) | 1.5 – 2.0 mm |
| Circular saw (standard blade) | 3.0 – 3.2 mm |
| Table saw | 3.0 – 3.5 mm |
| Panel saw (with scoring blade) | 4.0 – 4.5 mm |
| Track saw | 2.5 – 3.0 mm |
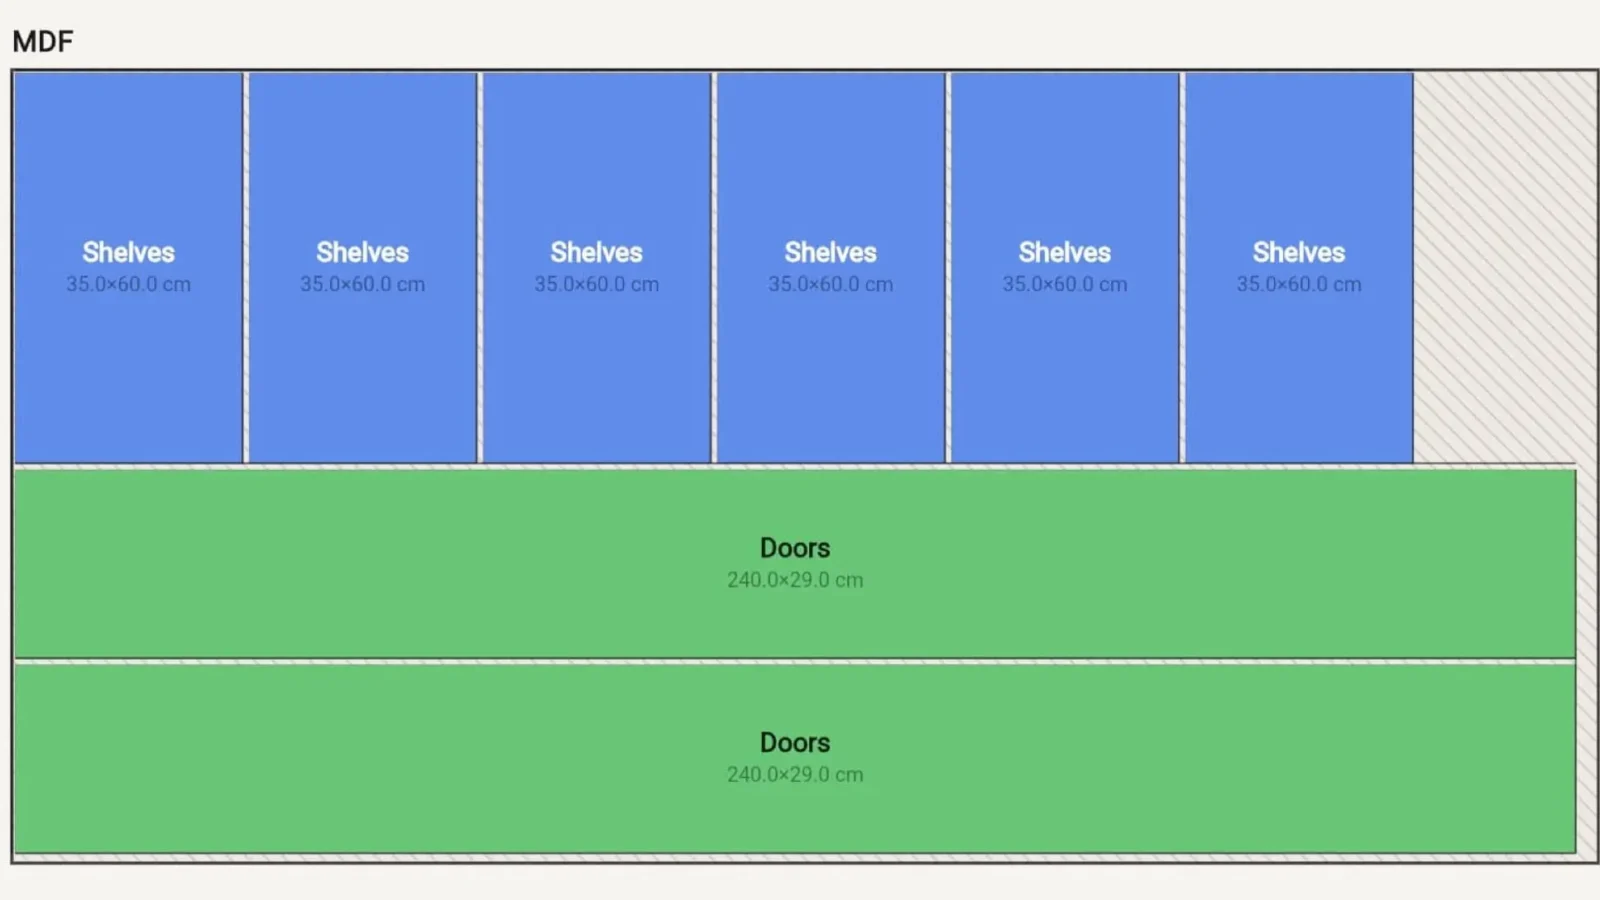
When you use a cut list optimizer online, you enter kerf width once — and the algorithm accounts for it across every cut automatically. Without this input, the software treats cuts as zero-width lines. The result: parts that are 3mm shorter than planned, multiplied across 20 pieces.
Practical rule: Always measure your actual blade kerf on a scrap piece before entering it. Blade wear, tooth geometry, and feed rate all affect the real kerf width. A worn blade can cut 0.5mm wider than new.
2. Grain Direction: Not Just Aesthetic
Grain direction matters structurally and visually. For veneered plywood and MDF with wood-effect surfaces, misaligned grain on visible faces looks unprofessional. More critically, for structural plywood, cutting across the face grain weakens the panel’s bending resistance.
The rule of thumb: On shelves and horizontal panels, face grain should run along the length of the piece. On vertical cabinet sides, grain runs top-to-bottom. This matches how wood naturally resists bending and how the eye reads furniture.
In a cut plan, grain direction is usually set as a constraint: each part is marked as “grain along the X axis” or “grain along the Y axis.” A good panel cutting optimizer lets you lock grain direction per piece — preventing the algorithm from rotating a shelf 90° to fit the layout.
When is rotation acceptable? For internal structural parts — cabinet backs in MDF, drawer bottoms, internal dividers — grain direction has minimal visual impact. Allowing rotation on these pieces gives the optimizer more freedom and typically reduces waste by 6–12%.
Concrete example: A kitchen cabinet project with 14 pieces — 8 visible (locked grain) and 6 internal (rotation allowed). Running the same optimization with all pieces locked versus mixed: the mixed approach saves roughly 0.4 panels on a 10-panel job. That’s one free sheet.
3. Reusable Offcuts: Turning Waste Into Stock
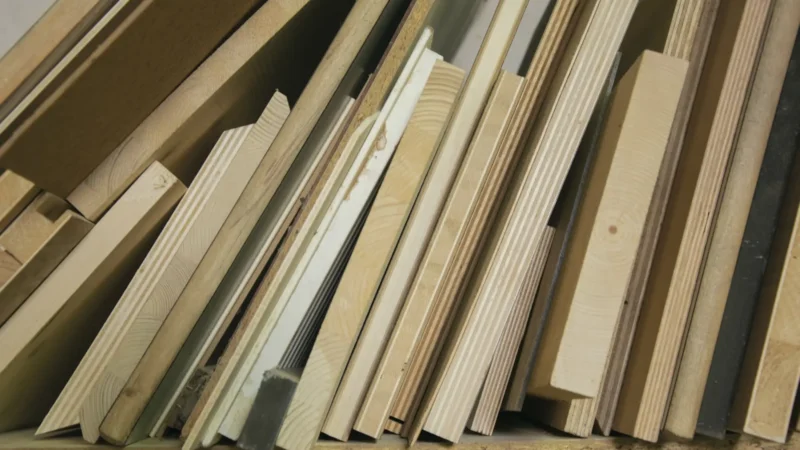
An offcut is any piece of panel left after cutting that is large enough to be used again. Most woodworkers either discard these or stack them in a corner and forget them. A systematic approach to offcut management can eliminate one or two sheet purchases per project cycle.
The key is registration: recording the exact dimensions of each offcut (width × height × thickness × material type). When you start a new project, you check your offcut stock before ordering new panels.
In a digital cut plan, offcut management works like this:
This workflow is built into Offcut’s cutting plan tool: you can import saved offcuts from previous projects and include them as source panels. The algorithm treats them as constrained sheets — same logic, smaller canvas.
What counts as a reusable offcut? A useful threshold: any piece larger than your smallest repeating part in the next project. If you regularly cut 200×400mm drawer fronts, any offcut above 250×450mm is worth keeping.
4. Putting It All Together: A Practical Workflow
Here’s a step-by-step approach to setting up a cut plan that accounts for all three variables.
Step 1 — Define your parts list. List every piece with exact dimensions (length × width), material, thickness, and whether grain direction is required. Use a spreadsheet or import a CSV directly into the optimizer.
Step 2 — Enter your sheet dimensions and kerf. Use the actual measured dimensions of your panels (2440×1220mm is nominal — real sheets are sometimes 2–5mm shorter). Enter your measured kerf width. If unsure, use 3.2mm as a safe default for circular saws.
Step 3 — Set grain constraints. Mark visible pieces as grain-locked. Allow rotation on internal parts. This single step typically reduces sheet count by 5–10% compared to locking everything.
Step 4 — Run the optimization. The algorithm will place parts to minimize waste. Review the layout — check that no large offcuts are isolated between small cuts (this creates unusable slivers).
Step 5 — Register your offcuts. After cutting, measure remaining pieces above your threshold. Save them as available panels for the next project. Export the cut plan as PDF or DXF for the workshop.
The most common mistake at this stage: skipping the kerf input and then wondering why parts are 3mm undersized. The second most common: locking grain on every piece, including backs and internal shelves, then over-ordering panels.
Conclusion
A cut plan is only as accurate as its inputs. Saw kerf, grain direction, and offcut tracking are not advanced features — they are basic configuration steps that every woodworker should set before running a single optimization. Together, they can reduce material waste by 15–20% on a typical furniture project and eliminate unnecessary panel purchases across a year of work.
The good news: modern tools make this straightforward. You don’t need to calculate kerf corrections by hand or draw layouts on graph paper. Set the three parameters, run the optimizer, and get a workshop-ready cutting diagram in under two minutes. Try it now with Offcut’s free online cut plan tool — no account required for your first project.