Introduction
A cabinet calculator converts a furniture design into an exact list of panels to cut. No more guessing on dimensions. No more off-by-5mm mistakes that waste an entire sheet.
Whether you are building a kitchen base unit, a wardrobe, or a bookcase, the process is always the same: enter the outer dimensions, choose your panel thickness, and the tool outputs every part — sides, top, bottom, back, shelves — with precise measurements.
This tutorial shows you how to use a cabinet calculator step by step, how to check your cut list before sawing, and how to feed that list directly into a panel cut optimizer to eliminate wasted material.
Step 1 — Enter Your Cabinet Dimensions
Open the cabinet calculator at offcut.tools/tools/cabinet-calculator.
You will need three outer measurements:
Then specify your panel thickness. Standard choices are 16mm, 18mm, or 25mm. Most kitchen and wardrobe carcasses use 18mm MDF or 18mm chipboard.
> Key detail: the calculator uses your thickness value to automatically subtract material where panels overlap. A 600mm wide cabinet with 18mm sides produces an interior clear width of 564mm. Every shelf and horizontal divider is sized to that interior dimension, not the outer one.
If you are building a back-panel frame, enter a separate thickness for the back (typically 6mm or 8mm HDF). The tool accounts for the back rebate depth in the side and bottom dimensions.
This step takes under two minutes. Get it right here, and every subsequent cut follows automatically.
Step 2 — Read the Generated Parts List
Once you confirm the dimensions, the calculator outputs a structured parts list. A standard base cabinet (600mm W × 720mm H × 560mm D, 18mm panel) produces six primary parts:
| Part | Width (mm) | Height / Length (mm) | Qty |
|---|---|---|---|
| Side panel | 560 | 720 | 2 |
| Bottom panel | 564 | 560 | 1 |
| Top rail | 564 | 96 | 1 |
| Back panel (HDF) | 564 | 720 | 1 |
| Fixed shelf | 564 | 542 | 1 |
| Toe-kick board | 564 | 150 | 1 |
Each row shows the finished cut size — not the rough panel size. These are the numbers you will transfer to your saw or your panel cut optimizer.
Check three things before moving on:
If anything looks wrong, adjust the input dimension, not the output value. The calculator recalculates instantly.
Step 3 — Verify Before You Cut
Verification is the step most beginners skip — and the most expensive one to miss.
A single transposed digit (say, 640mm instead of 460mm for a shelf) will produce a part that does not fit and cannot be reused. On 18mm MDF at standard sheet prices, that is a direct material loss. More importantly, it breaks your cut sequence on the saw table.
Run through this checklist on screen before sawing anything:
If you need to compare panel weights before purchasing material — useful when building full cabinet runs — the wood panel weight calculator lets you estimate the total load per sheet and per finished piece.
Take two minutes here. It saves 20 minutes of recutting later.
Step 4 — Import Into a Cut Optimizer
A parts list is only half the job. The other half is fitting those parts efficiently onto standard-size sheets (typically 2440mm × 1220mm or 2500mm × 1250mm) to minimize offcuts.
This is where a panel cut optimizer takes over.
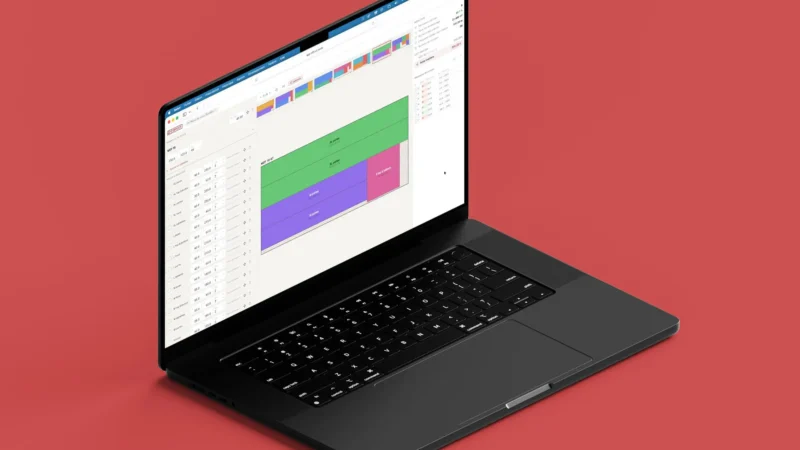
Export your parts list from the cabinet calculator as a CSV or JSON file — or copy the dimensions directly. Then import them into Offcut’s cutting plan tool. The optimizer:
For a single base cabinet, the optimizer typically fits all six parts on one half-sheet with usable offcuts remaining. For a full kitchen run of eight cabinets, it can reduce sheet consumption by 15–25% compared to manual planning.
The workflow — cabinet calculator → cut list → cut optimizer — is a closed loop. Change one cabinet dimension upstream, re-export, re-optimize. No manual recalculation at any stage.
Conclusion
Dimensioning a cabinet before cutting is not optional — it is the step that makes every subsequent step faster, cheaper, and more accurate. A cabinet calculator removes the mental arithmetic from joinery math. It handles thickness deductions, back-panel rebates, and shelf sizing automatically.
The practical sequence is simple: enter dimensions, read the parts list, verify, then optimize your panel layout. Each step builds on the previous one, and the whole process takes less time than a single recutting session at the saw.
Start with your next cabinet project. Enter the outer dimensions into the Offcut cabinet calculator, review the parts list, then bring that list into the Offcut cut optimizer to generate a ready-to-use cutting plan — before a single panel is touched.