Introduction
Building furniture from MDF panels is one of the most rewarding DIY and professional woodworking projects — but it can quickly turn into a costly mess without a proper MDF panel cutting plan. Wasted offcuts, incorrect dimensions, and unnecessary trips to the hardware store are all consequences of skipping this crucial step. Whether you’re crafting a TV unit for your living room or manufacturing cabinetry at scale, learning how to create an optimized cutting layout saves you both money and time. This step-by-step tutorial walks you through the entire process, from measuring your parts to interpreting the final cut diagram, using a concrete example any woodworker can follow.
Step 1 — Define Your Project and List Every Part
Every good cutting plan starts on paper (or a spreadsheet), not in the workshop. For this tutorial, we’ll build a simple wall-mounted TV unit with the following components:
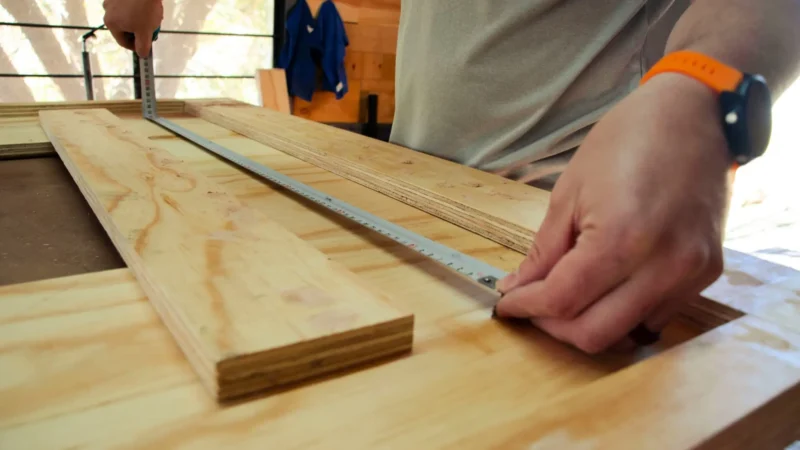
Before entering anything into software, list every piece with its exact dimensions (width × height). Be precise — even a 5 mm error compounds across a full sheet. Also note the quantity of each part if you’re making multiples.
At this stage, decide on your stock panel size. Standard MDF sheets typically come in 2440 × 1220 mm (8×4 feet) or 2070 × 1200 mm for European markets. Choose the format available at your local supplier.
Step 2 — Enter Your Stock Panels and Parts in Offcut
Now open the free online cutting optimizer at app.offcut.tools. The interface is divided into two main sections: Stock Panels on the left and Parts to Cut on the right.
In the Stock Panels section:
Enter the dimensions of your MDF sheet — for example, 2440 mm wide × 1220 mm tall. If you have multiple sheets available, you can add them all. Offcut will use them in the most efficient order.
In the Parts to Cut section:
Add each piece from your list, one by one. For each part, enter the width, height, and quantity. For our TV unit, that means entering the two side panels as “400 × 600, qty: 2”, the top and bottom as “1200 × 400, qty: 2”, and so on.
Don’t forget the kerf. The kerf is the width of material removed by the saw blade — typically 3 to 4 mm for a circular saw or track saw. Offcut lets you set this value in the settings panel. Skipping this step leads to parts that are systematically too short.
Once everything is entered, click “Optimize”. The algorithm instantly calculates the most efficient arrangement of all your parts across the available sheets.
Step 3 — Read and Understand the Generated Cutting Layout
The result appears as a visual cutting diagram — a color-coded representation of your MDF sheet, showing exactly where each piece should be cut. Each rectangle is labeled with the part name and dimensions you entered.
Here’s what to look at first:
Print the plan or export it as PDF, SVG, or DXF directly from the interface. Stick a printed copy on your workbench — it’s your roadmap for the next hour of work.
Step 4 — Interpret the Waste Statistics
One of the most underused features of any cut list software is the waste statistics panel. In Offcut, after optimization, you’ll see a summary showing:
| Metric | Value (example) |
|---|---|
| Total panel area used | 2.97 m² |
| Parts area | 2.41 m² |
| Waste (offcuts) | 0.56 m² |
| Efficiency rate | 81.1% |
An efficiency rate above 80% is generally considered good for complex cuts. Below 70%, it’s worth reconsidering your part list — perhaps some pieces can be slightly resized, or a different stock panel format would yield better results.
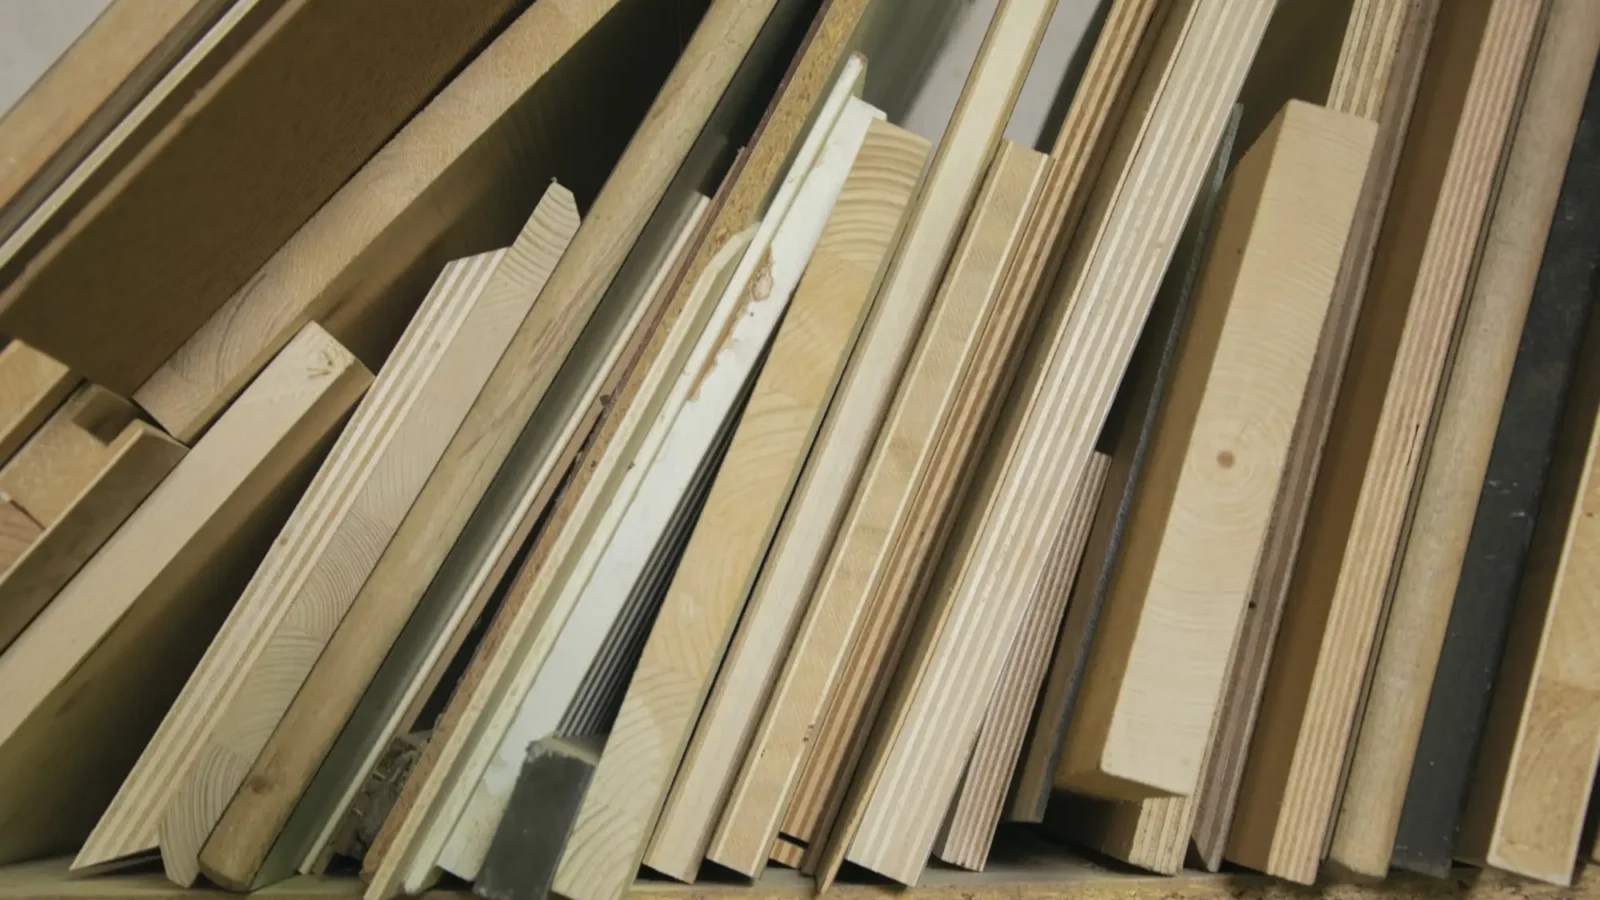
The offcut areas shown in grey on the diagram aren’t just waste — they’re potential future parts. Offcut’s interface lets you visualize which remnants are large enough to be stored and reused for another project, actively helping you reduce wood waste over time.
Step 5 — Validate, Adjust, and Export Your Final Plan
Before you pick up the saw, take one more pass through your plan. Check that every piece from your original list appears on the diagram. Verify that no two parts overlap. Confirm the blade kerf value matches your actual saw.
If something looks off — a part is missing, or the waste rate seems unusually high — go back and adjust. You might try:
Once you’re satisfied, export the plan. Offcut supports PDF, DXF, SVG, and PNG exports, making it compatible with workshop printers, CNC machines, and design software alike. You can also export your parts list as a CSV for your records or for ordering materials from a supplier.
This is the moment where thorough planning pays off — you step into the workshop with complete clarity, zero guesswork, and a measurable reduction in wasted material.
Practical Tips for MDF-Specific Cutting
MDF (Medium-Density Fibreboard) has no grain direction, which is a major advantage in cut planning — you can rotate parts freely without visual consequence. This increases nesting flexibility and typically yields better efficiency rates than plywood or solid wood.
However, MDF is heavy and produces significant fine dust when cut. Always use a sharp blade with a high tooth count (60+ teeth for clean edges), cut with adequate dust extraction, and support large panels properly to avoid sagging mid-cut.
| MDF Thickness | Common Use | Notes |
|---|---|---|
| 9 mm | Cabinet backs, light panels | Flexible, lightweight |
| 16 mm | Shelves, furniture carcasses | Most common for furniture |
| 25 mm | Worktops, heavy-duty shelving | Heavy; use two-person handling |
For painted finishes, always prime MDF edges separately — they absorb paint differently than the face, and a sealed edge makes finishing far easier.
Conclusion
Creating a detailed MDF panel cutting plan is not an optional step reserved for professionals — it’s the single most effective thing any woodworker can do to save money, reduce waste, and work more confidently. The process is straightforward: list your parts, enter them into an optimizer, read the layout, check the waste statistics, and export. With a concrete project like the TV unit above, you can see exactly how each step connects.
If you haven’t tried it yet, head over to Offcut and build your first cutting plan in under five minutes. The tool is free, requires no installation, and works directly in your browser — on desktop, tablet, or phone. Your saw and your wallet will both thank you.
Offcut tools to go further
- 🪵 Offcut app — cutting plan — generate an optimised cutting plan in a few clicks.
- 📊 Wood weight calculator — estimate the mass of your panels instantly, before assembly or transport.