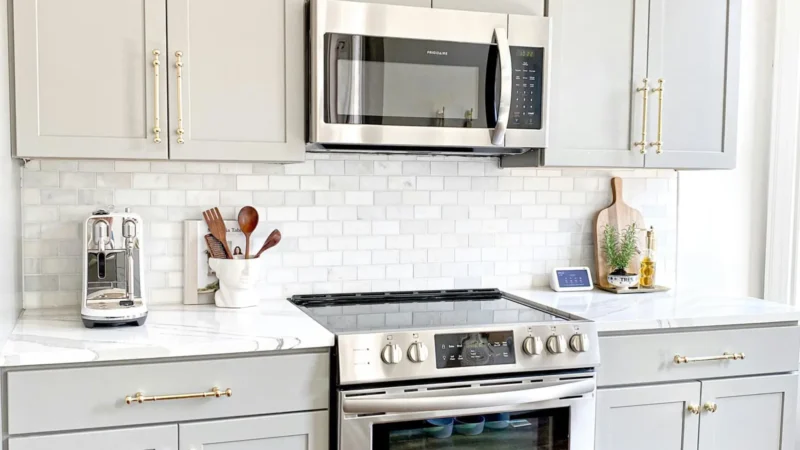
Introduction
A plunge saw with a guide rail — often called a track saw — is one of the most reliable ways to cut large panels accurately. Unlike a standard circular saw, it lets you start the blade mid-panel without kickback risk, and the rail guarantees a dead-straight cut every single time. For woodworkers dealing with full sheets of MDF, plywood, chipboard, or OSB, this combination replaces the table saw in many practical situations. Whether you’re a professional joiner, a furniture maker, or a passionate maker, mastering this tool opens up a new level of precision and efficiency on the workshop floor.
What Is a Plunge Saw and How Does It Differ from a Circular Saw?
A plunge saw is a circular blade tool where the blade is spring-loaded into a protective housing. You press it down into the material at the exact point you want to start cutting — hence “plunge.” This means you can begin a cut anywhere on a panel, not just from an edge. That’s a major advantage when cutting notches, starting cuts inside a sheet, or when working on-site without a workbench.
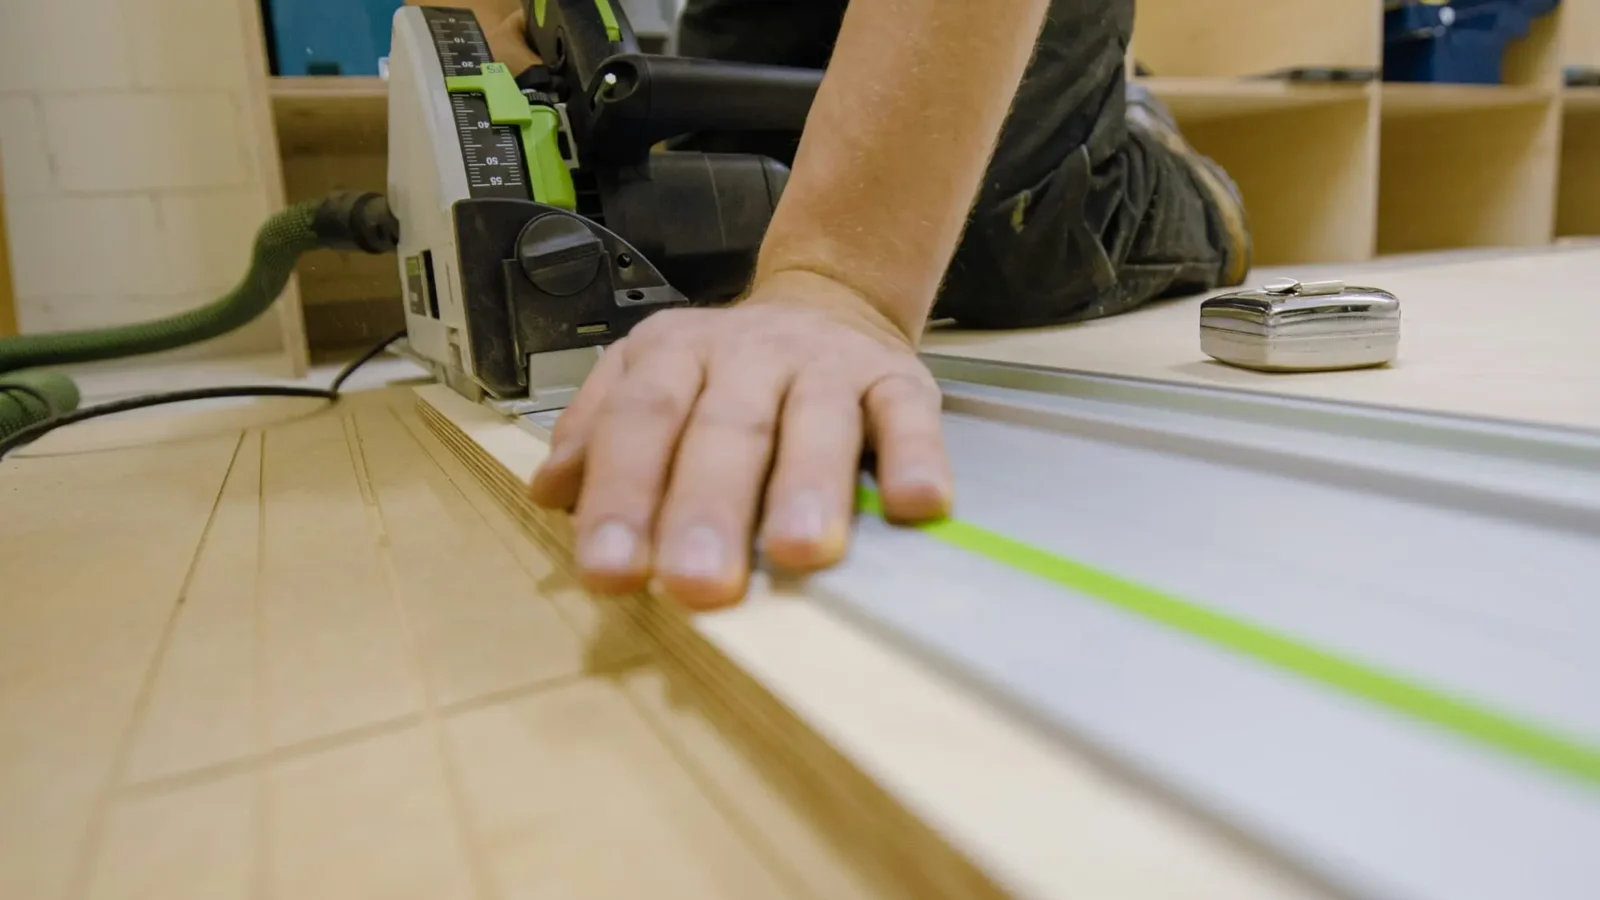
The guide rail (or track) is the other half of the equation. It clamps or sits on the panel using a rubber anti-slip strip underneath, and the saw body rides along it like a train on rails. The result is a cut that is straight to within a fraction of a millimetre across a 2.4-metre sheet.
Conventional circular saws can accept guide rails too, but they lack the plunge mechanism and usually have more blade play. The track saw system — as popularised by Festool with their TS series and Makita with the SP6000 — is designed from the ground up to work as a unified system. The rail, the saw body, and the splinter guard strip work together.
Setting Up the Guide Rail for Accurate Panel Cuts
Correct setup is where most mistakes happen. Here is a reliable process for getting it right every time.
Mark your cut line first. Use a sharp pencil and a long straightedge or tape measure. Mark both ends of the cut — not just the middle.
Position the rail. The rail has a splinter strip along one edge. Align this strip exactly with your cut line. The strip itself is sacrificial and gets trimmed on first use, so your alignment is always exact from that point onward.
Secure the rail. For panels on sawhorses or on the floor, the rubber underside usually grips enough. For safety on smooth materials, use the manufacturer’s clamps at each end. Never assume friction alone is enough for a full sheet cut.
Once the rail is locked in position, do a dry run: slide the saw along the rail without the blade spinning, checking for any obstruction or instability. Only then switch on and let the saw reach full speed before engaging the plunge.
A few practical tips worth noting:
Choosing the Right Blade for Sheet Materials
Blade selection makes a significant difference in cut quality, especially with engineered wood panels. The wrong blade leaves a torn, splintered edge that requires extra sanding or is simply unusable.
| Material | Recommended Blade | Teeth Count |
|---|---|---|
| MDF | Fine-tooth TCT blade | 48–60 teeth |
| Plywood (hardwood face) | High-ATB fine finish blade | 56–72 teeth |
| Chipboard / Melamine | Triple-chip grind (TCG) blade | 60–80 teeth |
| OSB | Standard TCT construction blade | 24–40 teeth |
For melamine-coated chipboard, cutting with the decorative face down reduces surface tear-out, since most plunge saws cut on the upstroke. Check your specific model’s blade rotation direction before deciding which face to place up.
Blade diameter also matters. Most track saws use 160 mm to 185 mm blades, which gives a maximum depth of cut around 55–65 mm — more than enough for standard 18 mm or 22 mm panels.
Planning Your Cuts Before You Pick Up the Saw
Here is something that separates experienced woodworkers from beginners: the time you spend planning cuts is always recovered at the saw. Working through a full cutting plan before touching a sheet prevents costly mistakes, identifies how to nest parts efficiently, and reduces the number of panel movements on the workshop floor.
This is where a dedicated cutting plan calculator proves its worth. You enter your available stock panels and the list of parts you need, and the tool calculates the optimal layout — minimising off-cuts and waste. For makers building furniture, cabinetry, or storage systems, this step can save an entire panel’s worth of material on a medium-sized project.
The output also tells you exactly which cuts to make first. With a track saw, sequence matters: you generally start with rip cuts across the full width of the sheet to create manageable strips, then cross-cut those strips into final parts. Planning this sequence in advance means you handle each piece fewer times.
You can also use the wood panel weight calculator to estimate how heavy your full sheets will be before you start — useful when you’re working alone and need to know whether you can safely move a panel by yourself.
Safety and Maintenance for Track Saw Systems
Track saws are inherently safer than circular saws in most respects — the guard covers the blade completely before and after the cut, the plunge mechanism prevents accidental contact, and the rail keeps the saw on a fixed path. However, a few safety habits are non-negotiable.
Always wear appropriate hearing and eye protection. The blade is enclosed, but debris and noise levels still require protection. Keep the dust extraction bag or hose connected — most track saws have excellent dust extraction, and working without it quickly creates a visibility and health problem.
Check the rail’s anti-slip strip regularly. A worn rubber strip can allow the rail to shift mid-cut, ruining the workpiece and creating a potential kickback situation. Replacement strips are inexpensive.
For blade maintenance: clean resin build-up from the blade teeth with a specialist cleaner after every few sessions. A dirty blade runs hotter, cuts slower, and leaves a worse edge. Replace the blade when you notice burning, increased resistance, or splintering even on the correct setting.
Conclusion
A plunge saw with a guide rail is one of the most versatile and precise tools available to woodworkers, makers, and site joiners. It brings table-saw accuracy to any space without requiring a fixed machine, and it handles full sheets of MDF, plywood, chipboard, and OSB cleanly and safely. The key is a systematic approach: plan your cuts in advance, set up the rail carefully, choose the right blade, and support your panels properly throughout.
If you want to take your panel cutting to the next level, start by building a proper cut list before every project. Use our free online cut optimizer to generate an optimised cutting layout, reduce your material waste, and walk into the workshop knowing exactly what cuts to make. It works for any sheet material and any project size — from a single shelf to a full kitchen installation.