Introduction
Cutting melamine without chipping is one of the most common challenges faced by woodworkers, whether they’re seasoned cabinetmakers or weekend DIY enthusiasts. Melamine-coated boards — chipboard, MDF, or plywood covered with a thin resin layer — are notoriously unforgiving. One wrong move and you end up with a ragged, splintered edge that can ruin an otherwise perfect panel. The good news? Getting clean, chip-free cuts isn’t magic. It’s about understanding how melamine behaves, choosing the right tools, and following a handful of pro techniques that make all the difference. This guide breaks it all down in practical, actionable steps.
Why Melamine Chips — and What Makes It Different
Understanding the material is the first step. Melamine board is a composite panel — chipboard, MDF, or plywood — with a thermally fused paper overlay saturated in melamine resin. This surface is extremely hard and brittle compared to the substrate underneath. When a saw blade exits through this coating, the teeth create small fractures that propagate outward, resulting in chips or tearout.
This is fundamentally different from cutting raw wood, where the grain structure absorbs and redirects cutting stress. Melamine has no such flexibility. The resin coating cracks rather than bends. This means your technique must compensate for that brittleness at every stage of the cut.
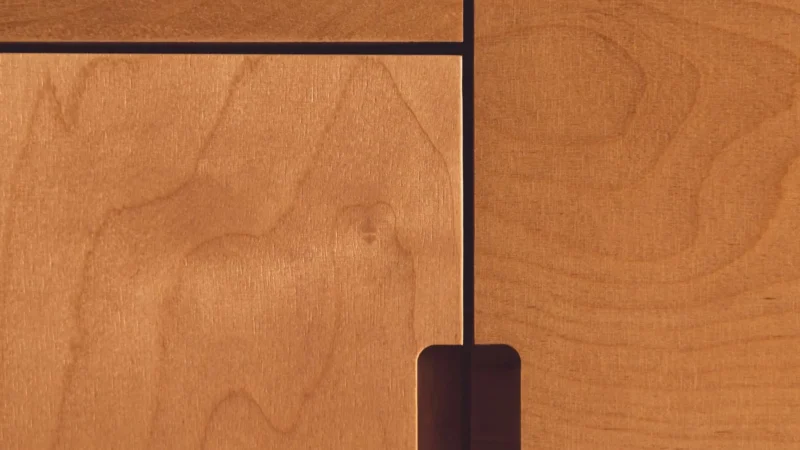
Two faces of the board are at risk: the top face where the blade enters, and the bottom face where it exits. Most standard blades will chip the exit face badly. The goal of every technique described below is to control exactly what happens at those two critical points.
Choosing the Right Blade for Clean Melamine Cuts
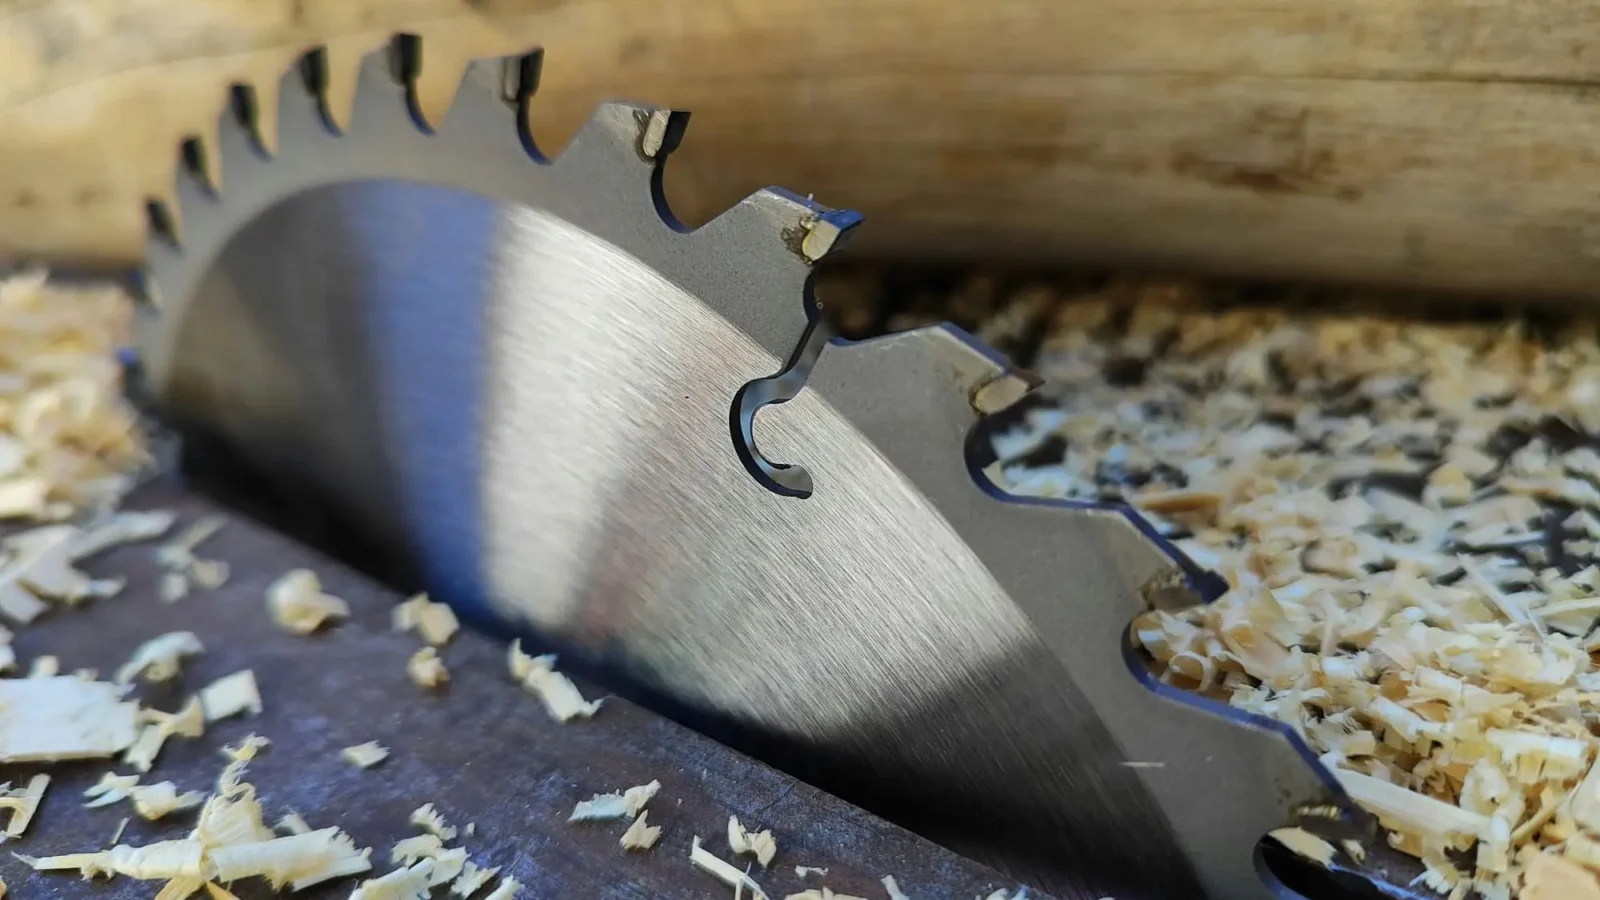
Blade selection is the single most important decision you’ll make. A standard crosscut blade designed for solid wood will tear melamine to pieces. You need a blade specifically designed for laminated panels.
Here’s what to look for:
Carbide-tipped blades are non-negotiable. HSS blades dull within minutes on melamine resin and will chip immediately once they lose their edge.
Scoring, Tape, and Setup Techniques
Even with the right blade, technique matters enormously. These methods are used by professional panel shop operators and custom cabinet makers alike.
Score the cut line first. Before running any saw, take a sharp utility knife and score the melamine surface along your cut line — two or three firm passes. This severs the resin layer cleanly before the blade reaches it, eliminating the main source of tearout on the top face. It’s a ten-second step that makes a visible difference.
Use masking tape. Apply a strip of quality painter’s tape or masking tape along the cut line on both faces of the board. The tape reinforces the resin layer and prevents chips from propagating. Cut through the tape along with the panel. Peel it off immediately after cutting while any adhesive is still flexible.
Set blade height correctly. On a circular saw or table saw, the blade should protrude only 6–10mm above the surface of the panel. Many woodworkers make the mistake of raising the blade too high. A lower blade height means the teeth strike the material at a less aggressive angle, reducing the force of exit and limiting chip formation.
Feed rate is critical. Move too fast and the blade deflects and vibrates, chipping both faces. Move too slow and the blade heats up, burning the coating and causing edge damage. For most setups, a steady, moderate feed — consistent and without hesitation — gives the cleanest result. Let the blade do the work.
Use a zero-clearance insert. On a table saw, a zero-clearance throat plate (an insert with a saw kerf exactly matching your blade width) supports the melamine surface right up to the blade exit point. This dramatically reduces bottom-face chipping. You can make one from MDF in a few minutes and it will transform your results.
| Setup Factor | Budget/DIY Approach | Professional Approach |
|---|---|---|
| Blade | 60-tooth TCG carbide | 80–96 tooth fine-finish TCG |
| Scoring | Utility knife | Dedicated scoring saw |
| Support | Masking tape | Zero-clearance insert + sacrificial fence |
| Feed control | Steady hand | Sliding table panel saw |
Table Saw vs. Circular Saw vs. Track Saw
Each tool has its place when cutting melamine, and the choice depends on your setup and the size of the panels you’re handling.
Table saw is the gold standard for repeatability and clean edges. With a good blade, a zero-clearance insert, and a well-tuned fence, you can cut melamine perfectly face-down (decorated side down), with the blade exiting through the back face. Add a secondary scoring blade if your table saw supports it — this is how industrial panel saws achieve flawless results on both faces simultaneously.
Circular saw with a guide rail (track saw) is the most practical option for large panels or job site work. A good-quality track saw system — Festool, Makita, or similar — combined with a 60+ tooth melamine blade will produce near-perfect cuts. The splinter guard integrated into the rail’s rubber edge acts as a built-in zero-clearance support. For DIYers who can’t afford a track saw, clamping a straight batten as a guide and scoring first will get you most of the way there.
Jigsaw is not recommended for melamine. Even with a downstroke blade, the orbital motion and vibration make chip-free results nearly impossible. Reserve the jigsaw for curves and rough cuts only.
Router with a flush-trim bit is excellent for finishing edges and cleaning up small amounts of material — but it’s not a primary cutting tool for large melamine panels.
Planning Your Cuts to Minimize Risk (and Waste)
Every cut on a melamine panel is an opportunity for something to go wrong. Reducing the total number of cuts — while still producing all the pieces you need — is both a quality strategy and an efficiency gain. This is where cut optimization software becomes genuinely useful.
With a tool like Offcut’s online cutting plan calculator, you input your stock panel dimensions and your list of required pieces, and the algorithm generates an optimized layout that minimizes offcuts and reduces the total number of passes through the saw. Fewer cuts mean less material handling, less chance of chipping, and more accurate results — especially when you’re working alone.
| Optimization Benefit | Impact on Melamine Cutting |
|---|---|
| Fewer total cuts | Less opportunity for chipping or misalignment |
| Logical cut sequence | Larger panels handled fewer times, reducing damage risk |
| Offcut tracking | Reuse of usable remnants, reducing waste and cost |
You can also use the wood panel weight calculator to estimate total panel weights before handling — useful when working alone with large-format sheets.
Conclusion
Cutting melamine without chipping comes down to three things: the right blade, the right technique, and good planning. A TCG carbide blade with 60+ teeth, combined with a scored cut line and proper blade height, will eliminate the vast majority of chipping problems. Add a zero-clearance insert or track saw for professional-level results on both faces of the board.
Before you make a single cut, take the time to plan your cut layout properly. A well-optimized cutting plan reduces the number of passes, the amount of waste, and the stress on both you and your material. Use the Offcut panel cutting optimizer to generate your cutting plan for free — it’s the kind of preparation that separates clean, professional results from costly mistakes.